Neso Beach Tent vs Shibumi: Which Is Right For You
When choosing between the Neso Beach Tent and the Shibumi Shade, the key difference lies in their design and setup. Shibumi offers a more innovative, one-person setup with a unique pole-and-tension system, while Neso provides a simpler, more traditional setup using poles and sandbags. Both aim to give you shade, but how they achieve it is distinct.
You’re looking for reliable beach shade that’s easy to manage. We found that both Neso and Shibumi are popular choices for beachgoers. Understanding their core features and ease of use will help you decide which one fits your beach days best. Think about how much space you need and how quickly you want to set up.
TL;DR:
- Shibumi is known for its quick, one-person setup.
- Neso uses a more traditional pole and sandbag design.
- Both offer good UV protection for your beach trips.
- Consider your priority: speed of setup or simpler mechanics.
Let’s walk through the details of each to help you pick the perfect sun shelter for your next beach adventure.
Beach Shade Showdown: Neso Tent vs. Shibumi Shade
When you’re heading to the beach, you want shade. But which beach shelter is the right one for you? We’ve looked at the popular Neso Beach Tent and the innovative Shibumi Shade. They both offer sun protection, but they do it very differently. Think about how much time you want to spend setting up. Also, consider how much space you need. This will help you make the best choice for your sunny days.
Understanding the Neso Beach Tent
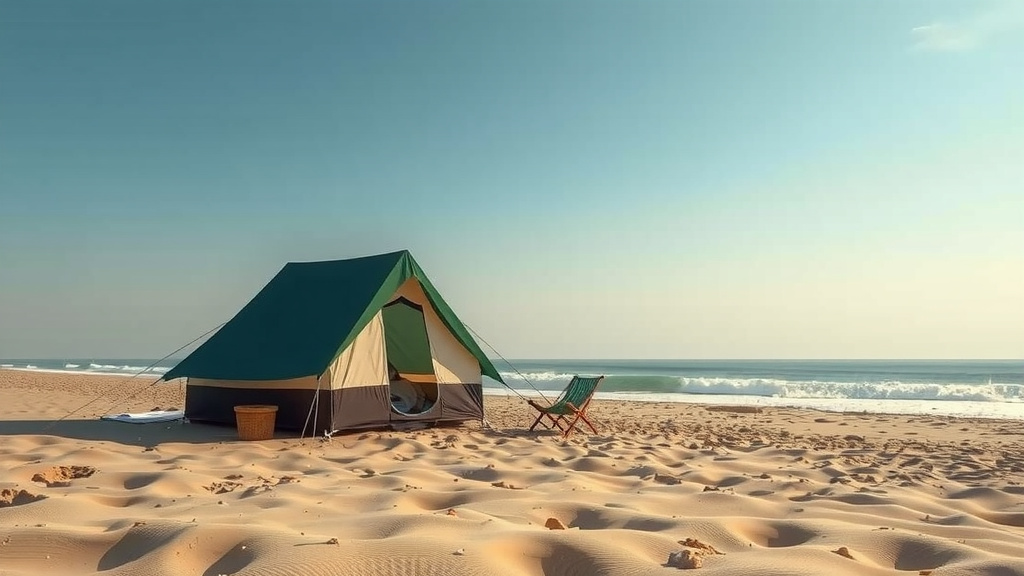
The Neso Beach Tent is a popular choice for many beachgoers. It uses a simple, straightforward design. You’ll likely find it familiar if you’ve used beach tents before. It’s designed to be easy to set up and take down. This makes it a practical option for families or groups.
How the Neso Tent Works
Setting up the Neso tent is pretty standard. You’ll use poles to prop up the fabric. Then, you’ll anchor it with sandbags. These bags fill up with sand, providing the weight needed to keep your tent in place. It’s a system that has worked for beach shelters for a long time. We found that the anchors are usually included, which is a nice touch. If you’re concerned about windy conditions, our guide on how to set up a Neso tent in wind can help.
What to Expect with Neso Setup
You can expect a setup time of about 5-10 minutes. This might take a bit longer if the wind is strong. You’ll need to find a good spot and lay out the fabric. Then, you insert the poles. Finally, you fill the sandbags and attach them. It’s a process that requires a little coordination, especially with kids around. You’ll have a stable sun shelter once it’s all secured.
Neso Tent Features and Benefits
The Neso tent offers good UV protection. Many models provide UPF 50+ coverage. This is essential for protecting your skin from harmful sun rays (CDC). The fabric is usually lightweight and water-resistant. This means it can handle a little bit of unexpected rain. It’s also designed to be portable. You can usually fold it up and carry it in a bag.
Exploring the Shibumi Shade
The Shibumi Shade is known for its unique and modern approach to beach shading. It’s a bit different from traditional beach tents. Many users praise its innovative design and quick setup. If you’re someone who values efficiency, this might catch your eye. It uses a clever tension system.
The Shibumi Shade’s Innovative Setup
This is where the Shibumi really shines. It’s designed for one-person setup, often in just a few minutes. Instead of traditional poles, it uses a system of tension rods and anchors. You basically insert the rods into the fabric. Then, you stake it into the sand. The wind actually helps to keep it taut and in place. It’s quite clever!
How Fast Can You Set Up Shibumi?
Research and user reviews suggest you can set up the Shibumi in under three minutes. Yes, you read that right! It’s designed to be incredibly fast. You unroll the shade, insert the lightweight poles, and stake it down. The wind catches the fabric and pulls it into shape. It’s a dynamic setup that looks quite elegant.
Key Features of the Shibumi Shade
The Shibumi Shade offers excellent shade coverage. It can cover a large area, making it great for families or groups who want plenty of space. The UPF 50+ rating is standard, offering robust sun protection. The material is also designed to be durable and withstand coastal conditions. Its lightweight nature makes it easy to transport, despite its size when set up.
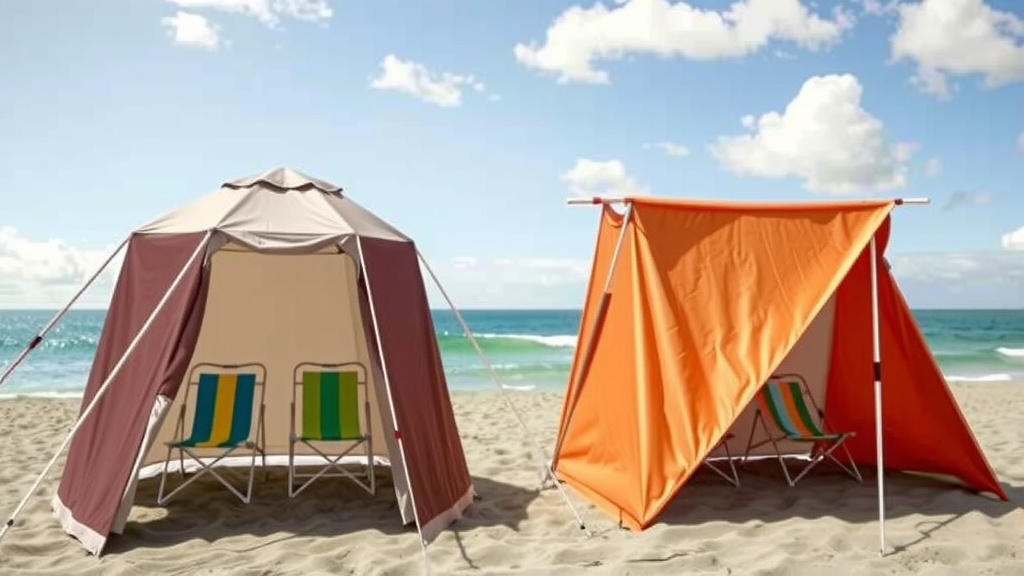
Comparing Key Aspects: Neso vs. Shibumi
Let’s break down the differences to help you decide. Both aim to provide shade, but their methods and user experiences vary.
Ease of Setup: A Major Differentiator
This is perhaps the biggest difference. The Shibumi Shade is engineered for speed and single-person use. Its unique pole-tension system makes setup incredibly fast. The Neso Beach Tent uses a more traditional method. While not difficult, it generally takes a bit longer and might require two people, especially if it’s windy.
Portability and Size
Both are designed to be portable. The Neso tent, when packed, is often a compact cylinder. The Shibumi Shade folds down into a bag that’s also easy to carry. When set up, the Shibumi tends to offer a larger shaded area. This can be a significant factor if you have a larger family or often bring beach chairs and gear.
Durability and Wind Resistance
Both brands aim for durability. The Neso tent’s anchors provide stability. However, like any traditional tent, very high winds can be a challenge. The Shibumi Shade, on the other hand, is often praised for its ability to handle wind. Its design uses the wind to its advantage, creating tension that keeps it stable. Many find it remarkably wind-resistant.
Cost Considerations
Generally, the Neso Beach Tent is more budget-friendly. It’s a cost-effective option for many families. The Shibumi Shade, with its innovative design and materials, typically comes at a higher price point. Your budget will likely play a role in your final decision.
| Feature | Neso Beach Tent | Shibumi Shade |
|---|---|---|
| Primary Setup Mechanism | Poles and sandbags | Tension rods and stakes |
| Typical Setup Time | 5-10 minutes | 1-3 minutes |
| Ease of One-Person Setup | Moderate | Excellent |
| Shaded Area (General) | Good | Very Good to Excellent |
| UV Protection | UPF 50+ | UPF 50+ |
| Wind Resistance | Good (with proper anchoring) | Excellent (uses wind tension) |
| Price Point | More Affordable | Higher Price Point |
Making Your Choice: Which Shade is Right for You?
We’ve walked through the main features of both the Neso Beach Tent and the Shibumi Shade. Now, think about your personal beach needs. Do you prioritize getting set up in record time with minimal fuss? Or are you comfortable with a more traditional setup that might take a few extra minutes? Consider how often you go to the beach and how much gear you typically bring.
If speed and simplicity are your top concerns, the Shibumi Shade might be your perfect match. Its one-person, quick-setup design is hard to beat. On the other hand, if you’re looking for a dependable, budget-friendly option and don’t mind a slightly longer setup, the Neso Beach Tent is a solid contender.
Your Beach Shade Checklist
To help you finalize your decision, consider these points:
- How quickly do you want to be shaded?
- Do you usually go to the beach alone or with others?
- How much space do you need under the shade?
- What’s your budget for a beach shelter?
- How important is it to have a shade that handles wind well?
- Do you prefer a traditional or an innovative setup?
Conclusion
Ultimately, your perfect beach shade hinges on your priorities. If you crave near-instant setup and appreciate innovative design, the Shibumi Shade is likely your winner. It’s engineered for speed and ease, especially if you’re often solo. For those seeking a dependable, budget-friendly option that’s still effective, the Neso Beach Tent offers a familiar and reliable solution. Consider how you’ll use it most – a quick solo trip or a family beach day – and make your choice based on that.
Think about your beach day routine. Do you want to spend more time relaxing or wrestling with gear? Both offer great sun protection. Choose the one that lets you enjoy the sun safely and with the least hassle. Your ideal beach setup is just a click away!
Frequently Asked Questions
Can the Shibumi Shade be used on grass or packed dirt, not just sand?
The Shibumi Shade is primarily designed for sand due to its staking system that utilizes wind tension. While you might be able to rig it on very firm surfaces with additional anchoring, it performs best and most securely in sand where the stakes can grip effectively.
Is the Neso Beach Tent difficult to set up in windy conditions?
The Neso tent can be a bit trickier in strong winds. You’ll need to ensure the sandbags are well-filled and strategically placed. If the wind is particularly gusty, you might find yourself readjusting more often than you’d like.
Which shade provides more actual shade coverage on the beach?
Generally, the Shibumi Shade tends to offer a larger and more expansive shaded area once set up. This is due to its design that maximizes the fabric’s reach and stability, making it great for groups or spreading out gear.
Are replacement parts available for either the Neso tent or Shibumi shade?
Both brands typically offer replacement parts, though availability can vary. It’s always a good idea to check the manufacturer’s website for options like replacement poles, stakes, or carrying bags if something gets lost or damaged.
Which option is better for someone who travels a lot to different beaches?
For frequent travelers, the Shibumi Shade’s incredibly fast setup and portability are major advantages. Its ability to handle varying wind conditions on different beaches also makes it a reliable companion for those on the go.