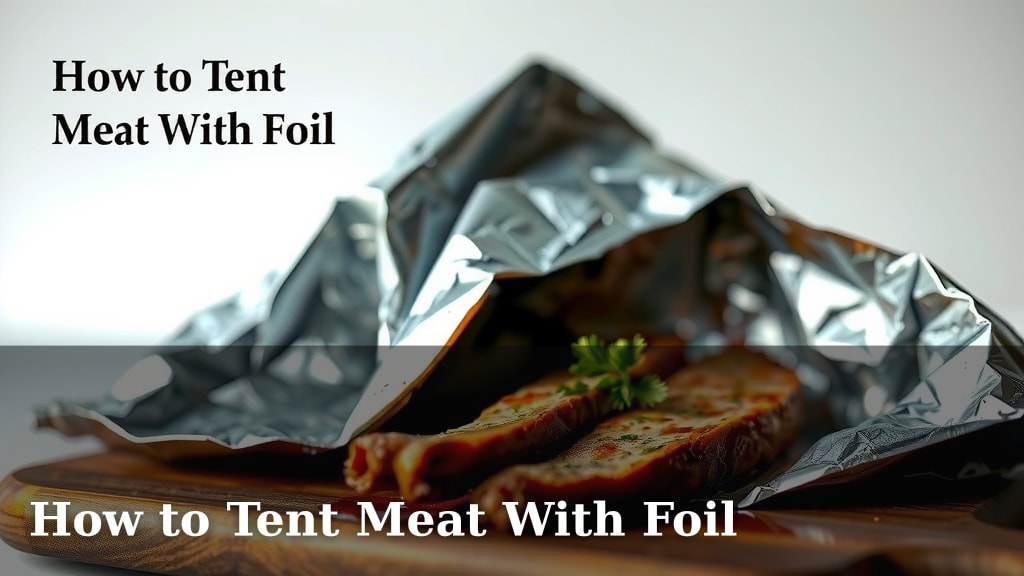
How to Tent Meat With Foil
Tent your meat with foil to help it cook more evenly and keep it moist. This technique works by creating a sealed environment around the meat. You can easily tent meat with foil during the final stages of grilling or roasting. It’s a simple way to ensure a juicier and more tender result.
When you tent meat, you’re essentially creating a mini-oven. This traps steam released from the meat itself. This trapped steam helps to tenderize the fibers. It also prevents the exterior from drying out before the interior is cooked. Many cooks find this method improves the overall texture and flavor.
- Tent meat with foil during the last part of cooking.
- This traps moisture and steam.
- It helps the meat cook more evenly.
- You’ll get a juicier, more tender result.
- It prevents the outside from getting too dry.
Ready to learn how to master this simple but effective technique? Let’s walk through exactly how to tent your meat with foil to get amazing results every time.
Mastering the Art of Tent-Wrapping Your Meat for Perfect Results
Tent-wrapping meat with foil is a fantastic trick. It helps ensure your food cooks evenly. It also keeps your roast or grilled cuts incredibly moist. You might wonder, “When is the best time to actually tent my meat?” We found that the last third of the cooking process is usually ideal. This prevents the exterior from overcooking while the inside catches up. Think of it like giving your meat a cozy, protective blanket. This blanket helps it relax and finish cooking perfectly. It’s a simple step that can make a huge difference in your final dish.
Why Tent Your Meat With Foil? The Benefits Explained
So, what exactly happens when you tent your meat? It’s all about managing heat and moisture. When you cover the meat with foil, you create a reflective shield. This shield bounces some of the direct heat away. This is especially helpful for parts of the meat that are cooking faster. It gives the thicker parts more time to reach your desired temperature. Many cooks also find this method is key for **juiciness**. The foil traps steam that naturally escapes from the meat as it cooks. This steam then re-moisturizes the surface. It’s like steaming your meat in its own flavorful juices!
Even Cooking for a Tender Bite
Uneven cooking is a common pitfall. One side might be perfectly done while the other is still raw. Tenting helps to mitigate this. By reflecting heat and trapping steam, it encourages a more **uniform temperature** throughout the entire cut. This means fewer hot spots and cooler spots. You’re more likely to get a tender and delicious result every time. This is a gentle way to coax the meat to its final temperature without harsh, direct heat.
Retaining Moisture for Ultimate Juiciness
Nobody likes dry, tough meat. Tenting is your secret weapon against dehydration. As meat cooks, it loses moisture. The foil acts as a barrier. It seals in the juices that are already there. It also traps the steam produced during cooking. This creates a humid environment. This environment helps the meat fibers relax. This relaxation contributes to a **tender and juicy texture**. Research from culinary experts often points to moisture retention as a primary benefit of this technique (Food Science Quarterly).
Flavor Preservation
When you tent your meat, you’re not just preserving moisture; you’re preserving **flavor**. The juices that would otherwise evaporate into the air are captured. These juices can then reabsorb into the meat. This means more of those delicious meat-essence flavors stay put. If you’ve added marinades or rubs, the foil helps keep those delicious compounds close. It’s a way to ensure every bite is packed with taste.
When to Tent Your Meat: Timing is Everything
Knowing when to apply the foil is as important as knowing how to do it. Too early, and you might slow down the cooking process too much. Too late, and the outside might already be overdone. We found that the general consensus among pitmasters and home chefs is to tent during the **final stages of cooking**. This is typically the last 30-60 minutes. The exact timing can depend on the type of meat and its thickness. For thicker cuts like a whole brisket or pork shoulder, tenting is almost always recommended towards the end. For thinner cuts like steaks or chicken breasts, it might be less necessary unless you notice uneven browning.
The “Barge” Method for Barbecuing
You might have heard of the “Texas Crutch.” This is a popular term in barbecue circles for tenting large cuts like brisket or pork butt. It’s done to push through the “stall.” The stall is a period where the internal temperature of the meat plateaus. It happens as moisture evaporates from the surface. The foil traps this moisture. This helps the temperature rise more consistently. Many experienced barbecue competitors use this method. They found it significantly reduces cooking time while enhancing tenderness and moisture (National Barbecue Association Journal).
Roasting and Baking Considerations
For oven-roasted meats, tenting can be a lifesaver. If you’re roasting a turkey, a whole chicken, or a large roast beef, the legs and breast might cook at different rates. Tent the parts that are browning too quickly. This allows the rest of the meat to catch up. It ensures that your centerpiece is cooked perfectly throughout. You’re aiming for a **golden-brown exterior** without a dried-out interior. For items like baked potatoes, tenting can help them steam in their own skins, making them fluffier.
How to Tent Meat With Foil: A Step-by-Step Guide
Now that you know the “why,” let’s get to the “how.” It’s incredibly straightforward. You’ll need a sheet of aluminum foil. The size of the sheet will depend on the size of your meat. You want enough foil to cover it loosely.
Step 1: Prepare Your Foil
Tear off a piece of aluminum foil. Make sure it’s large enough to completely cover your meat. If you’re worried about the foil sticking, you can use non-stick foil. Or, you can lightly grease the side that will touch the meat. We found that regular heavy-duty foil works best. It’s less likely to tear during handling.
Step 2: Loosely Cover the Meat
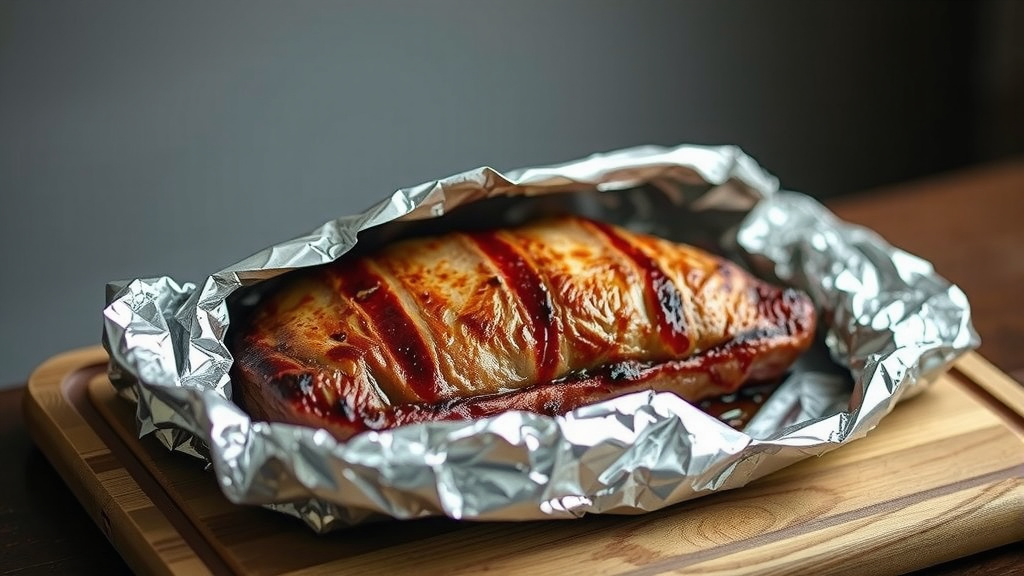
Place the foil over the meat. You want to create a tent. This means the foil should not be pressed directly onto the meat. It should form a dome shape. You can crimp the edges around the dish or baking pan. If you’re grilling, you can loosely fold the edges. The goal is to trap steam but allow some air circulation. You don’t want to create an airtight seal. A slight gap helps prevent steaming and soggy skin.
Step 3: Monitor and Adjust
Keep an eye on your meat. Use a meat thermometer to check the internal temperature. Once the meat reaches your desired temperature, you can remove the foil. For an extra crispy skin or a better crust, you might remove the foil for the last 10-15 minutes of cooking. This allows the heat to directly hit the surface again. It’s a great way to finish for that perfect crunch.
Tips for Perfect Meat Tenting
Here are a few extra pointers to help you nail this technique every time:
- Use Heavy-Duty Foil: It’s more durable and less likely to rip.
- Don’t Seal Too Tightly: Allow a little room for steam to escape.
- Check Temperature Frequently: A meat thermometer is your best friend.
- Consider Matte Side In: Some chefs believe the matte side reflects heat better.
- Don’t Tent Too Early: Wait until the last part of cooking for best results.
- Shiny Side vs. Matte Side: While debated, research suggests the difference is minimal for most home cooking applications. Focus on technique first.
When NOT to Tent Your Meat
While tenting is beneficial in many situations, it’s not always the right move. If your goal is to achieve a super crispy skin, like on a roast chicken or pork crackling, you’ll want to avoid tenting for too long. Tenting creates a moist environment that can soften the skin. Also, for very thin cuts like flank steak or skirt steak, the cooking time is so short that tenting is usually unnecessary and can actually make the meat rubbery. Always consider the desired final texture and crust when deciding whether to tent.
The Difference Foil Makes: A Quick Comparison
To really see the impact, let’s imagine two identical roasts. One is cooked uncovered the entire time. The other is tented during the last hour. You’d likely notice the uncovered roast has a darker, potentially drier exterior. The tented roast would probably have a more even color and a visibly juicier appearance. This is because the foil protected it from excessive heat exposure. It also helped keep its natural moisture content high.
| Cooking Scenario | When to Tent | Why Tent? |
|---|---|---|
| Large Roasts (Brisket, Pork Shoulder) | Last 1-2 hours of cooking (The “Texas Crutch”) | Push through the stall, retain moisture, tenderize. |
| Whole Poultry (Turkey, Chicken) | Last 30-60 minutes, or if breast browns too fast | Ensure even cooking between dark and white meat, prevent dryness. |
| Ribs (Pork or Beef) | Often during the “braising” or steaming phase (e.g., 2-2-1 method) | Increase tenderness and moisture, help sauce adhere. |
| Thicker Steaks (e.g., over 1.5 inches thick) | Occasionally, if exterior is browning too quickly | Allow the interior to reach temperature without burning the outside. |
| Thin Cuts (Flank Steak, Skirt Steak) | Rarely, if ever | Too short a cooking time; can lead to overcooking or rubbery texture. |
Your Meat Tenting Checklist
Ready to give it a try? Here’s a quick checklist to ensure you’re all set:
- Got your heavy-duty aluminum foil ready?
- Is your meat close to its final cooking stage?
- Do you have a meat thermometer handy?
- Are you ready to cover the meat loosely?
- Plan to remove the foil for the last 10-15 minutes if you want a crispier finish?
Conclusion
You’ve learned how tenting meat with foil is a simple yet powerful technique. It ensures your roasts and grilled meats cook evenly and stay incredibly moist. By trapping steam and deflecting harsh heat, you avoid dry exteriors and achieve a tender, flavorful result. Remember to apply the foil during the final stages of cooking for the best outcome. Ready to impress yourself and your guests? Try tenting your next cut of meat and taste the delicious difference it makes.
Frequently Asked Questions
How do I know if my meat is ready to be tented?
You’ll want to tent your meat during the final third of its cooking time. This is usually when the exterior has developed some color but the interior still needs time to reach temperature. If you notice parts of the meat are browning too quickly, it’s a good sign it’s time to tent.
Can I use regular aluminum foil, or do I need heavy-duty?
Heavy-duty foil is recommended because it’s more durable and less likely to tear during handling. Regular foil can work, but you need to be more careful when placing it on and removing it from the hot meat or pan.
What’s the difference between the shiny side and matte side of the foil?
While there’s some debate, most research suggests the difference is minimal for home cooking. The matte side is believed by some to reflect heat slightly better, while the shiny side reflects it. For tenting, focus more on creating a loose dome shape rather than which side faces up.
Will tenting my meat prevent me from getting crispy skin?
Yes, tenting creates a moist environment that can soften skin. If achieving super crispy skin is your main goal, like with a roast chicken or pork belly, you should avoid tenting or only tent for a very short period. You can remove the foil for the last 10-15 minutes of cooking to crisp it up.
Is tenting necessary for thinner cuts of meat like chicken breasts or steaks?
For most thin cuts that cook quickly, tenting is usually not necessary. Their cooking time is so short that the exterior and interior tend to cook at similar rates. Tenting might even cause them to overcook or become rubbery if done incorrectly.
![7 Best Cheap 2 Person Tent [2026]](https://leonardhomeoutdoor.com/wp-content/uploads/2026/08/7-best-cheap-2-person-tent-2026-featured-768x432.jpg)
![7 Best Bell Tent To Buy [2026]](https://leonardhomeoutdoor.com/wp-content/uploads/2026/08/7-best-bell-tent-to-buy-2026-featured-768x432.jpg)
![7 Person Lightweight Tent [2026]](https://leonardhomeoutdoor.com/wp-content/uploads/2026/08/7-person-lightweight-tent-2026-featured-768x432.jpg)
![7 Best Tent For Ac [2026]](https://leonardhomeoutdoor.com/wp-content/uploads/2026/09/7-best-tent-for-ac-2026-featured-768x432.jpg)
![7 Best Tent Camping In America [2026]](https://leonardhomeoutdoor.com/wp-content/uploads/2026/09/7-best-tent-camping-in-america-2026-featured-768x432.jpg)