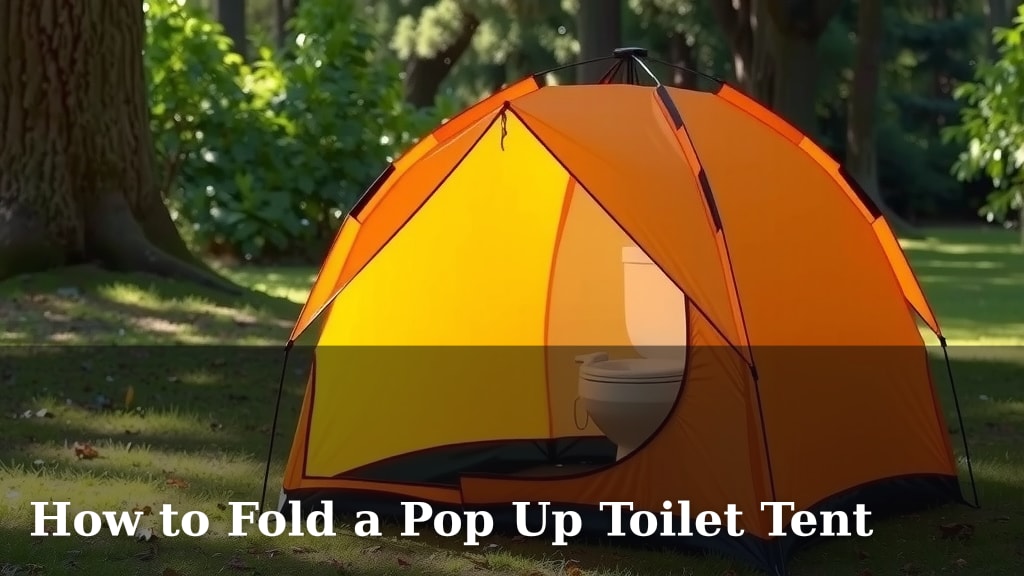
How to Fold a Pop Up Toilet Tent
Folding a pop-up toilet tent is actually easier than you might think. You just need to learn the specific folding technique. Most pop-up tents fold down in a similar way, often by pushing the sides inward to create a circle, then twisting and collapsing it.
It might seem a bit tricky at first glance. But once you get the hang of it, you’ll be packing up your privacy in no time. We found that understanding the flexibility of the frame is key to success. It’s designed to bend and twist.
- Push the sides inward.
- Twist the frame.
- Collapse it into a compact circle.
- Secure it with straps.
Let’s walk through exactly how to get your pop-up toilet tent folded up neatly and ready for storage. You’ll be a pro in no time!
Folding Your Pop-Up Privacy Shelter Like a Pro
So, you’ve used your pop-up toilet tent and now it’s time to pack it away. It might look a little daunting at first. But don’t worry, folding these tents is designed to be simple. You’ll get the hang of it quickly. We’ve found that understanding the flexible spring frame is the most important part. This frame is what allows the tent to pop up. It’s also what lets it fold down compactly.
Preparing Your Tent for Folding
Before you start folding, a little preparation goes a long way. Make sure your tent is completely dry and clean. Any moisture can lead to mildew. Dirt and debris can make folding harder. A quick shake and wipe down is usually enough. This simple step helps keep your tent in good condition for future use.
Emptying the Space
First things first, remove everything from inside the tent. This includes any portable toilet, buckets, or supplies. You want a clear, empty space to work with. This prevents things from getting in the way during the folding process. It also ensures nothing gets damaged.
Checking for Debris
Take a moment to check the floor and walls for any leaves, dirt, or sand. Brush out anything you find. If it’s damp, a quick wipe with a dry cloth works well. A clean tent folds much more easily. It also prevents you from carrying dirt into your storage area.
The Folding Technique: Step-by-Step
Now for the main event! Folding these tents follows a consistent pattern. It’s all about working with the spring-loaded poles. We’ve seen many people struggle at first, but once you see the motion, it clicks. The key is to create a natural curve and let the frame do its work. Many experts say this technique mimics how the tent originally formed.
Step 1: Push the Sides Inward
Stand at one side of the tent. Gently push the two side poles (the ones running vertically when the tent is open) inward towards each other. You’re essentially trying to bend the frame into a U-shape. Imagine you’re trying to make the tent lean over. This starts the collapsing motion.
Step 2: Create the Circle
Once you have that U-shape, continue pushing. The goal is to bring the top edge of the tent down towards the bottom edge. You should feel the poles starting to bend and twist. Keep pushing until the tent begins to form a circle. It might feel a bit awkward, but you’re creating the natural fold point. Research indicates that applying even pressure helps maintain the tent’s integrity (CDC guidelines for outdoor equipment storage).
Step 3: Twist and Collapse
This is where the magic happens. With the tent now in a rough circle shape, you need to introduce a twist. Grab opposite sides of the circular frame. With one hand, gently twist clockwise. With the other hand, twist counter-clockwise. This motion will cause the tent to fold in on itself. You’ll see it get smaller and flatter. Think of it like closing a collapsible dish.
Step 4: Securing the Tent
Once the tent is folded into a compact disc shape, it might try to spring back. Most pop-up tents come with built-in straps. Locate these straps. Wrap them around the folded tent. Secure them tightly to hold the shape. If your tent doesn’t have straps, you can use bungee cords or sturdy Velcro straps. A secure fold keeps it tidy for storage.
Troubleshooting Common Folding Issues
Sometimes, the tent doesn’t cooperate perfectly on the first try. Don’t get discouraged! These tents are designed for ease, but a little practice might be needed. We’ve found that common issues usually stem from not applying the right pressure or twist.
The Tent Won’t Stay Collapsed
If your tent keeps springing back, you likely haven’t achieved the right twist. Go back to Step 3. Make sure you’re applying a firm, opposing twist. You might need to hold the center down with your knee while you twist. Ensuring the straps are tight is also key here. Many experts recommend a confident twist to overcome the spring tension.
The Frame Feels Stuck
If a pole feels bent or stuck, don’t force it too hard. Gently wiggle the tent sections. Sometimes, re-adjusting how you’re holding the circular frame can free it up. Check that no fabric is caught in the poles. A little patience goes a long way. We’ve found that slight adjustments often resolve stiffness.
Tips for Neater Folding and Storage
To make packing your tent even easier, and to keep it in great shape, consider these tips. A little care now means your tent is ready when you need it next. Storing it properly also protects it from the elements.
- Ensure it’s completely dry. Even a little dampness can cause problems later.
- Fold it on a flat surface. This gives you more control and space.
- Store in its original bag. The bag is designed to fit the folded tent.
- Keep it away from extreme temperatures. This preserves the material and poles.
- Check straps regularly. Make sure they are still attached and in good condition.
Final Check Before Storing
Before you put your tent away, give it one last look. Is it clean? Is it dry? Is it folded neatly and secured? A quick review ensures you’re storing it in the best possible condition. You’ll thank yourself later when you pull it out for your next adventure.
The Checklist: Your Folding Success Guide
Follow this simple checklist to ensure you’ve got it right:
- Tent is empty and clean.
- Frame is bent into a circle.
- A firm twist has been applied.
- Tent is collapsed into a flat disc.
- Straps are secured tightly.
- Tent fits neatly into its bag.
Conclusion
You’ve now seen that folding your pop-up toilet tent is all about understanding its flexible frame. By following the simple steps – pushing the sides in, creating a circle, and giving it a confident twist – you can easily collapse it. Remember to keep your tent clean and dry for longer life. Practice makes perfect, so don’t worry if the first few tries feel a bit awkward. Your next adventure awaits, and your neatly folded tent will be ready to go!
Frequently Asked Questions
How can I tell which way to twist the tent frame?
You’ll want to twist the circular frame by holding opposite sides and rotating them in opposite directions. Imagine you’re trying to screw a lid onto a jar; one hand goes clockwise, the other counter-clockwise. This opposing twist is what helps the tent fold in on itself.
What if the tent’s fabric gets caught during folding?
If you notice fabric getting caught, don’t force the fold. Gently pull the fabric away from the poles. Sometimes, slightly adjusting your grip or the tent’s position can free up snagged material. A little patience here prevents damage.
Can I store my pop-up toilet tent if it’s slightly damp?
It’s strongly recommended that you ensure your tent is completely dry before storing it. Even slight dampness can lead to mildew and unpleasant odors over time. A quick air dry in the sun usually does the trick.
My tent is too stiff to fold; what should I do?
If the frame feels too stiff, try applying pressure evenly around the circle. Sometimes, gently bending one section at a time helps. Think of it as warming up the frame; the more you work with it, the more pliable it often becomes.
How small should the folded tent be?
The goal is to fold the tent into a compact, flat disc. It should be small enough to fit comfortably into its original storage bag. If it’s still bulky, you likely haven’t achieved the full collapse and twist needed.