

How to Set Up a Dream Tent
Setting up your dream tent is easier than you think! You can have your cozy camping sanctuary ready in minutes by following a few key steps, like preparing your site and correctly assembling the poles. Getting this right means less fuss and more fun under the stars.
Many campers find that a little preparation goes a long way. We’ve found that knowing your tent type can help. Whether it’s a pop-up or a traditional frame tent, the core setup principles are about making it sturdy and weather-ready. Let’s make your camping trip a breeze!
- Choose a flat, clear campsite.
- Identify your tent’s main poles.
- Lay out the tent fabric flat.
- Insert poles and secure the tent.
- Stake it down firmly.
Ready to get your dream tent pitched? Let’s walk through exactly how to get it set up step by step, so you can start relaxing.
Pitching Your Perfect Campsite Shelter
Getting your tent set up shouldn’t feel like a wrestling match. We found that a few simple, organized steps make pitching your tent a breeze. This guide will walk you through setting up your dream tent so you can relax and enjoy nature.
Choosing the Ideal Spot
Where you pitch your tent matters more than you might think. A good location sets the stage for a comfortable night. You want a spot that’s level and clear of debris. This helps your tent sit flat and prevents discomfort from rocks or roots.
Finding a Level Surface
Why is a level spot so important? We found that sleeping on a slope can lead to you sliding down during the night. It’s also less stable for your tent. Look for the flattest ground available in your campsite. Many park services even have designated tent pads which are usually already level.
Clearing the Area
Before you lay out your tent, take a moment to clear the ground. Remove any small rocks, twigs, pinecones, or anything sharp. You don’t want these poking you from below or, worse, tearing your tent floor. A quick sweep can make a huge difference in comfort and tent longevity.
Considering the Weather
Think about the forecast. You’ll want to pitch your tent away from dead trees or large branches that could fall in high winds or rain. Also, consider wind direction. If a storm is coming, try to orient your tent’s narrowest side into the wind. This helps it better withstand gusts (U.S. National Park Service).
The Tent Assembly Process
Now for the main event: putting the tent up! Most modern tents are designed for relatively easy assembly. The key is to follow the steps and not rush.
Unpack and Identify Components
First, carefully unpack your tent bag. Lay out all the pieces so you can see them. You should have the tent body (the fabric part), the rainfly (the waterproof outer layer), the poles, stakes, and guy lines. Sometimes there’s a footprint or ground cloth, too.
Tent Poles: The Backbone
Tent poles are usually made of shock-corded fiberglass or aluminum. They come in sections that connect. Unfold them gently and connect the sections. Make sure they’re fully seated together. We found that giving them a gentle twist can help ensure a secure connection.
Tent Body and Rainfly
The tent body is often the largest piece of fabric. Find the door and orient it the way you want it to face. The rainfly is typically a separate, waterproof piece that drapes over the tent body. It’s designed to keep you dry during rain.
Attaching the Poles
This is where your tent starts to take shape. Your tent will likely have sleeves or clips that the poles attach to.
- Sleeve Style: You’ll slide the poles through fabric sleeves sewn onto the tent body. Go slowly to avoid snagging the fabric.
- Clip Style: You’ll connect plastic clips on the tent body to the poles after the poles are in place. This is often faster.
Raising the Tent Structure
Once the poles are in place, you’ll need to raise the tent. This often involves flexing the poles and inserting their ends into grommets or pockets at the corners of the tent. Work your way around the tent, gently bending the poles. You’ll see the tent rise as you go.
Securing the Rainfly
Drape the rainfly over the tent structure. Make sure it’s oriented correctly, with the door of the rainfly aligning with the door of the tent body. Most rainflies attach to the tent poles or body with buckles, Velcro straps, or clips. Secure it firmly.
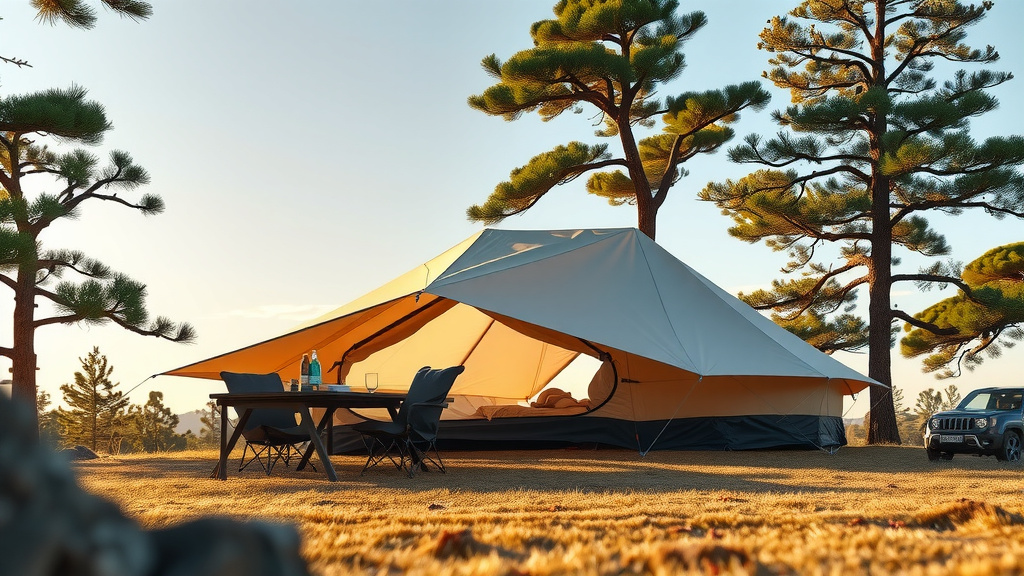
Anchoring Your Tent for Stability
A tent that’s just sitting there isn’t truly set up. Anchoring it properly is key to a safe and comfortable experience. This is especially true if the weather turns.
The Art of Staking
Stakes are your tent’s best friends in windy conditions. Insert the stakes through the loops at the base of your tent and the rainfly. Drive them into the ground at about a 45-degree angle, with the hook or opening facing away from the tent. This angle provides the most holding power (REI Co-op).
Using Guy Lines for Strength
Guy lines are the ropes that attach to your rainfly and extend outwards. They provide extra stability and help keep the rainfly taut, which is essential for ventilation and shedding water. Find the loops on your rainfly and attach the guy lines. Then, stake them out away from the tent. You can adjust the tension using the sliders on the lines.
Here’s a quick checklist to make sure you’ve got everything covered:
- Site Chosen: Flat, clear, and safe location selected.
- Poles Assembled: All pole sections connected securely.
- Tent Body Laid Out: Fabric spread flat, door oriented.
- Poles Inserted: Tent structure formed by poles.
- Rainfly Attached: Outer layer correctly positioned and secured.
- Staked Down: Tent firmly anchored with stakes and guy lines.
Conclusion
You’ve learned the essential steps to pitch your perfect campsite shelter! Setting up your dream tent involves choosing a good spot, assembling poles carefully, and anchoring everything down securely. We found that taking these few moments makes a huge difference in your comfort and enjoyment. Now you’re ready to relax under the stars with your reliable, cozy home away from home. Don’t forget to practice setting up your tent once at home before your trip!
Frequently Asked Questions
What’s the best way to ensure my tent is completely waterproof?
Your tent’s rainfly is the main waterproof layer, so make sure it’s fully attached and taut. Using guy lines helps keep the rainfly from touching the tent body, which prevents water from seeping through. Always stake your tent down firmly to keep it stable in wet conditions.
My tent poles seem difficult to connect. What should I do?
Give the pole sections a gentle twist as you connect them. This can help ensure they are fully seated and secure. If they’re still stiff, don’t force them; check for any debris or damage. A little graphite lubricant can sometimes help stubborn poles.
How do I know which way to orient my tent when setting it up?
Consider the prevailing wind direction and any potential weather. If rain or strong winds are expected, we recommend pitching your tent with its narrowest side facing the wind. Also, think about the morning sun; you might want to face the door away from it to keep your tent cooler.
What if I forget my tent stakes or lose them?
In a pinch, you can improvise with heavy rocks or sturdy branches to anchor your tent. However, these aren’t as reliable as proper stakes. We found that a spare set of stakes is a great addition to your camping gear. You can also purchase replacement stakes at most outdoor supply stores.
Is it okay to set up my tent on slightly uneven ground?
While a level surface is ideal for comfort and stability, a slight slope can sometimes be managed. Try to position your tent so your head is at the higher end. Clear away any rocks or roots thoroughly to prevent discomfort and potential damage to your tent floor. We strongly advise against setting up in areas prone to flooding.
![7 Best Budget Lightweight Tent [2026]](https://leonardhomeoutdoor.com/wp-content/uploads/2026/08/7-best-budget-lightweight-tent-2026-featured-768x432.jpg)
![7 Person Lightweight Tent [2026]](https://leonardhomeoutdoor.com/wp-content/uploads/2026/08/7-person-lightweight-tent-2026-featured-768x432.jpg)
![7 Best Luxury Tents Camping [2026]](https://leonardhomeoutdoor.com/wp-content/uploads/2026/08/7-best-luxury-tents-camping-2026-featured-768x432.jpg)