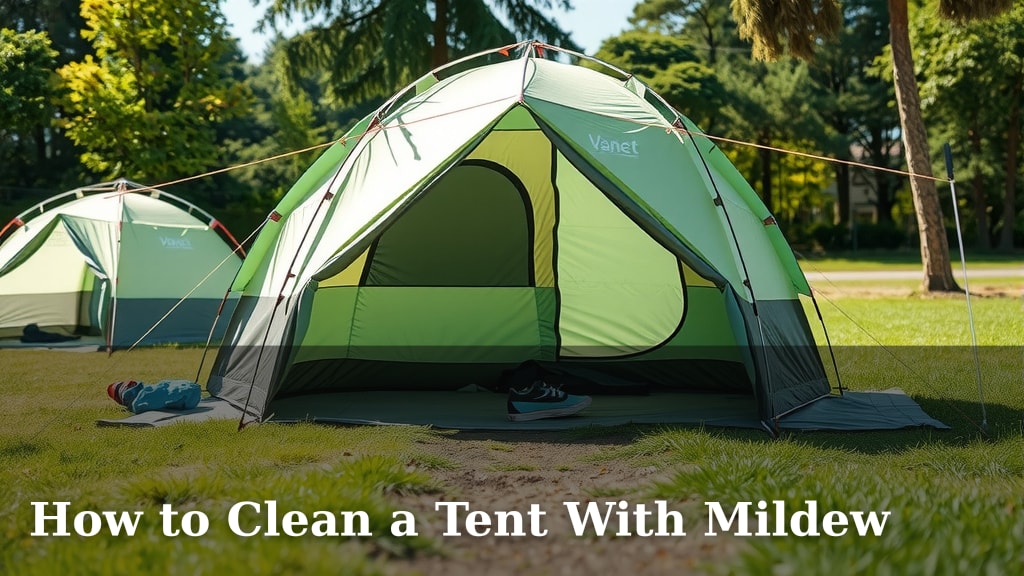
How to Clean a Tent With Mildew
The best way to clean mildew from your tent is to use a mild soap solution and a soft brush. For tougher spots, a mixture of water and white vinegar can work wonders. We found that tackling mildew quickly prevents it from spreading and damaging your tent fabric. Always remember to rinse thoroughly and let your tent air dry completely.
Discovering mildew on your camping gear can be disheartening, but don’t worry! This common issue often arises from improper storage. We’ve learned that a gentle cleaning approach is key to preserving your tent’s waterproof qualities. Properly addressing mildew ensures your tent remains a reliable shelter for many adventures to come. Your tent deserves some TLC!
- Use mild soap or vinegar and water.
- Scrub gently with a soft brush.
- Rinse the tent completely.
- Air dry thoroughly before storing.
- Consider a tent sealant if needed.
Let’s walk through exactly how to get your tent looking and smelling fresh again, step by step.
Tackling Tent Mildew: Your Guide to a Clean and Fresh Shelter
Discovering that fuzzy, often musty, green or black stuff on your tent fabric is never fun. But don’t let a bit of mildew ruin your next camping trip! We found that with the right approach, you can easily remove mildew and prevent it from coming back. This guide will walk you through the most effective methods.
Why Does Mildew Love Tents So Much?
Mildew is a type of mold that thrives in damp, dark conditions. Our research shows it often appears when a tent isn’t dried properly before being packed away. Even a little bit of moisture from dew or rain can be enough. Storing your tent in a humid garage or basement also creates the perfect breeding ground. Think of it like leaving wet laundry in a hamper for too long.
The good news is that mildew is usually a surface issue. It doesn’t typically damage the tent fabric itself unless left untreated for an extended period. Early detection and a gentle cleaning routine are key to keeping your tent in great shape.
Gathering Your Cleaning Supplies
Before you start scrubbing, make sure you have the right tools. Using harsh chemicals can damage your tent’s waterproof coating. You want to be effective but also gentle. We found that having these items on hand makes the process much smoother:
- A mild dish soap or specialized tent cleaner
- White vinegar
- A bucket or large basin
- Soft cloths or sponges
- A soft-bristled brush (an old toothbrush works well for small spots)
- Clean water for rinsing
- A dry towel or chamois
- A well-ventilated area for drying
The Gentle Soap Method: Your First Line of Defense
For most mild mildew cases, a simple solution of water and mild soap is all you need. This is the gentlest approach and will protect your tent’s fabric. We found this method to be highly effective for initial cleanup.
Creating the Mild Soap Solution
Start by filling your bucket with cool or lukewarm water. Add just a small amount of mild dish soap. You don’t want a lot of suds; too much soap can be difficult to rinse out. Aim for a solution that’s just slightly soapy. Many tent manufacturers recommend using a soap that is free of harsh detergents or moisturizers.
Applying the Solution and Scrubbing
Dip your soft cloth or sponge into the soapy water. Gently wipe down the affected areas. For stubborn spots, use your soft-bristled brush. Work in small, circular motions. Remember to be patient; you’re not trying to scrub paint off a wall! The goal is to lift the mildew without abrading the fabric. If you’re cleaning the inside of the tent, be sure to also address any mildew spots there.
Rinsing and Wiping
Once you’ve scrubbed the mildew away, it’s time to rinse. Use a clean cloth dipped in plain water to wipe away all soap residue. You might need to rinse your cloth and repeat this process several times. It’s essential to remove all soap, as leftover soap can attract dirt and potentially lead to new mildew growth.
The White Vinegar Solution: For Tougher Spots
If the mild soap method doesn’t quite do the trick, or if you have particularly persistent mildew stains, white vinegar is your next best friend. Many cleaning experts suggest vinegar because its acidity can kill mold and mildew spores. Research from the U.S. Environmental Protection Agency (EPA) indicates that vinegar can be effective at killing many types of mold. Don’t worry; the vinegar smell usually dissipates as the tent dries.
Mixing the Vinegar Solution
The standard recommendation is a 1:1 ratio of white vinegar to water. Mix equal parts white vinegar and cool water in your bucket. This creates a potent yet still relatively mild cleaning agent for your tent.
Application and Scrubbing with Vinegar
Apply this solution to the mildewed areas using a cloth or sponge. Just like with the soap method, use a soft brush for any tougher spots. Let the solution sit on the mildew for a few minutes to allow the vinegar to work its magic. Then, gently scrub the area. You’ll likely see the mildew begin to lift more easily.
Thorough Rinsing is Crucial
This step is incredibly important when using vinegar. You need to rinse out the vinegar thoroughly to prevent any lingering smell or potential damage to the tent’s fabric over time. Use a clean cloth and fresh water to wipe down the areas repeatedly. Make sure no vinegar residue remains.
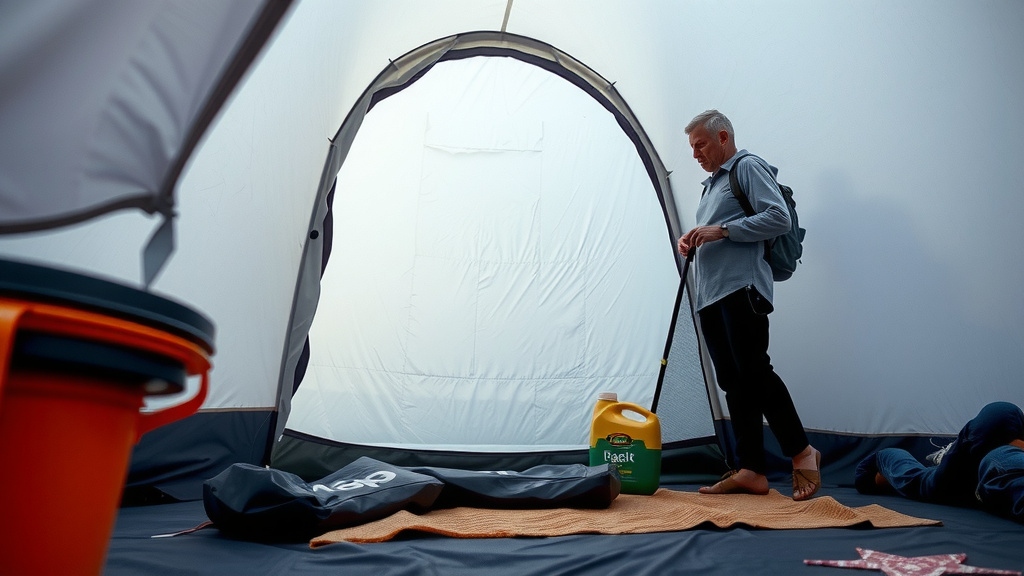
Drying Your Tent: The Most Important Step
This is arguably the **most critical step** in preventing future mildew growth. A damp tent is an invitation for mold. You must ensure your tent is bone dry before you even think about packing it away. We found that allowing ample drying time prevents a lot of future headaches.
Air Drying is Best
The ideal way to dry your tent is to set it up outside on a warm, breezy day. Drape it over chairs or a clothesline if possible, ensuring good air circulation all around. If you can’t set it up fully, hang it in a way that allows air to reach all surfaces. Avoid drying it in direct, intense sunlight for prolonged periods, as this can degrade the fabric and coatings over time.
Checking for Full Dryness
Before you pack it up, do a thorough inspection. Feel all the seams, corners, and especially the floor and rainfly. Any hint of dampness means it needs more drying time. It might take several hours, or even a full day, depending on the humidity and temperature.
When to Consider Tent Sealant
After cleaning and thorough drying, you might notice that certain areas of your tent seem less waterproof than they used to be. Sometimes, aggressive scrubbing or the mildew itself can compromise the fabric’s protective coating. If you find your tent leaks more than usual, it might be time to reapply a sealant. This is especially true for the seams and any worn areas.
There are many reputable tent sealants and waterproofing sprays available. Always follow the manufacturer’s instructions carefully. Applying sealant to a clean, dry tent ensures the best results. This step adds an extra layer of protection, keeping you dry on future adventures.
Your Tent Cleaning Checklist
Here’s a quick rundown to help you remember the key steps:
- Inspect your tent for any signs of mildew.
- Gather mild soap, vinegar, water, and soft cleaning tools.
- Scrub gently with a soft brush and chosen solution.
- Rinse the tent meticulously until all residue is gone.
- Air dry the tent completely in a well-ventilated space.
- Apply sealant if the waterproofing seems compromised.
Conclusion
Dealing with tent mildew doesn’t have to be a campsite disaster. You’ve learned that a simple, gentle approach with mild soap or a vinegar solution is often all it takes. Remember, the real secret weapon against mildew is proper drying. Always ensure your tent is completely air dry before storing it away to prevent that musty smell and fuzzy growth from returning. Take these steps, and you’ll be ready for many more dry and comfortable adventures.
Your next step is to inspect your tent regularly, and when you spot mildew, tackle it immediately using the methods we’ve outlined. Happy camping!
Frequently Asked Questions
How can I prevent mildew from growing on my tent in the first place?
The best prevention is always proper storage. After each trip, make sure your tent is completely dry before you pack it away. We found that even a little residual dampness can lead to mildew. Store your tent in a cool, dry place, not in a damp basement or humid garage.
Can I use bleach to clean mildew off my tent?
We strongly advise against using bleach. While bleach kills mold, it’s a harsh chemical that can seriously damage your tent’s fabric, waterproof coatings, and seams. Stick to milder options like soap and water or diluted white vinegar for the best results and to preserve your tent’s integrity.
What if the mildew has left a stain on my tent even after cleaning?
Mildew can sometimes leave behind faint stains, especially if left untreated for a while. If the cleaning process removed the mildew itself but a stain remains, you can try reapplying the diluted vinegar solution and letting it sit a bit longer before rinsing. For very stubborn stains, a specialized tent cleaner might be necessary, but always test it on an inconspicuous area first.
How long should I air dry my tent?
Drying time varies based on humidity, temperature, and how much water the tent absorbed. We recommend setting up your tent outdoors in a breezy spot for at least several hours, or until you’re absolutely certain every part of the fabric, including seams and the floor, is bone dry. It might take a full day in humid conditions.
Is it safe to use my tent if there are still faint mildew smells after cleaning?
If you’ve followed the cleaning and drying steps thoroughly, any lingering smell should dissipate with continued airing out. However, if the musty odor is strong, it might indicate that some mildew spores remain. We suggest giving it more drying time or repeating the cleaning process to ensure it’s fully addressed before your next trip.