
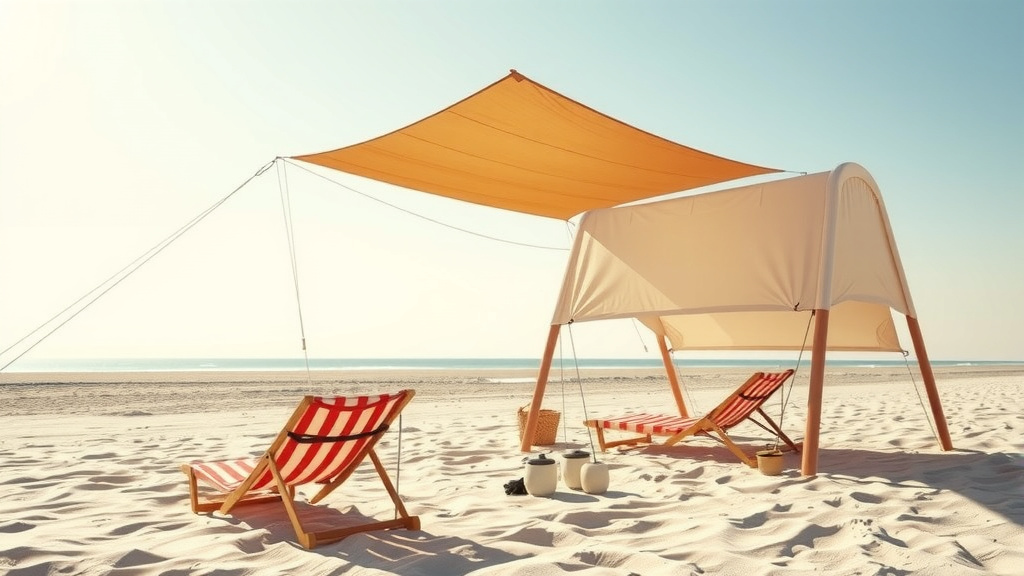
How to Set Up Your Beach Tent in Minutes
Setting up a beach tent is surprisingly simple, and you can usually have it ready in under 10 minutes. The basic process involves unfolding the tent, inserting the poles, and securing it with stakes and sandbags. Most modern beach tents are designed for quick assembly, letting you enjoy your shade without a fuss.
Beach tents offer crucial protection from the sun and can make your day at the shore much more comfortable. Whether you’re looking for a place to relax, keep your belongings cool, or give the kids a break from the rays, knowing how to set up your tent efficiently is key. We found that picking a good spot first is half the battle!
- Unfold the tent and identify the pole sleeves.
- Insert the poles and connect them.
- Stake down the tent corners securely.
- Use sandbags for extra stability.
Ready to get your beach sanctuary up and running? Let’s walk through exactly how to set up your beach tent, step by step, so you can start relaxing in the shade right away.
“`htmlYour Beach Tent Setup: A Step-by-Step Guide
Setting up your beach tent doesn’t need to be a wrestling match with fabric and poles. Most modern tents are designed for speed and simplicity. We found that understanding a few key steps makes all the difference. You’ll be enjoying your shaded spot in no time!
Choosing the Perfect Spot for Your Shade
Before you even unfold your tent, think about where you’re going to put it. This is often the most important step!
Consider the Sun’s Path
The sun moves throughout the day. You want to position your tent to catch the best shade. Try to face the opening away from the prevailing wind. This prevents sand from blowing directly into your tent. Research and found that a good position can mean the difference between a pleasant afternoon and a sandblasted experience (National Park Service).
Watch the Tides
This is a big one, especially if you’re right on the sand. You don’t want your tent to become an island or, worse, get swamped by the incoming tide. Always check the tide charts before you set up. Many beach authorities recommend setting up well above the high tide line. You can usually find these markers or ask a lifeguard.
Avoid Crowds and Obstacles
Give yourself and others some space. Setting up too close to other beachgoers can be inconsiderate. Also, look out for rocks, debris, or uneven ground that could make your tent unstable or uncomfortable. You want a clear, flat area.
Unpacking and Identifying Tent Components
Once you’ve picked your prime real estate, it’s time to get your tent ready for assembly.
Layout Everything First
Take everything out of the carrying bag. Lay out the tent fabric, poles, stakes, and any guy lines or sandbags. It’s much easier to sort things out on a clear patch of sand than when you’re halfway through trying to connect poles.
Understand Your Poles
Most beach tents use flexible fiberglass or aluminum poles. These are usually connected by elastic cords, so they snap together easily. Identify which poles are for the main frame and which, if any, are for extra support like awnings.
Locate Pole Sleeves and Loops
Your tent fabric will have sleeves or channels where the poles slide through. It also might have loops or clips to secure the tent to the poles. Familiarize yourself with these attachment points before you start inserting poles.
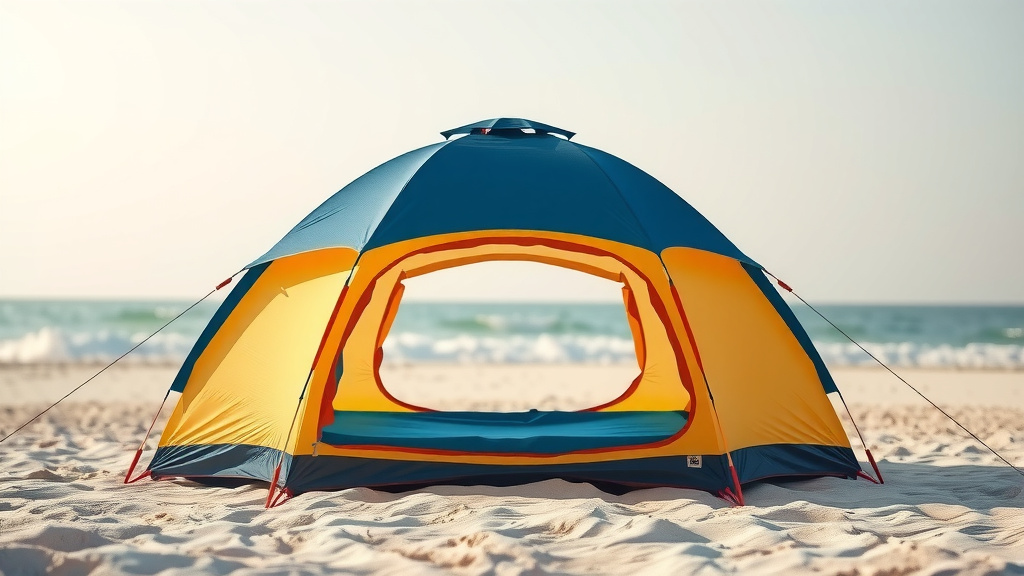
Assembling the Tent Frame
This is where your tent starts to take shape. You’ll likely be working with a pop-up style or a traditional pole-and-sleeve design.
Pop-Up Tents: The Magic Fold
For pop-up tents, the process is incredibly fast. You’ll usually just need to unfold the tent and give it a gentle toss or pull, and it springs into shape. These often have pre-inserted poles. Your main job here is to simply guide it into its final position. We found these are fantastic for families with young kids who want shade *now*.
Pole-and-Sleeve Tents: Gentle Insertion
If you have a pole-and-sleeve tent, carefully feed the poles through their respective sleeves. Work slowly to avoid snagging the fabric. Once a pole is mostly through, connect the sections if they weren’t pre-connected. Then, continue sliding it until it’s fully in place.
Securing the Frame to the Tent
Many tents require you to bend the poles to fit into grommets or anchors at the corners. Gently bend the poles and secure them. Some tents use clips that attach the fabric to the poles instead of sleeves. Fasten all these clips. You want the tent fabric to be taut, not saggy.
Anchoring Your Beach Tent for Stability
This is critical. A gust of wind can quickly turn your relaxing sanctuary into a runaway kite if it’s not properly secured.
Using the Stakes Provided
Your tent likely came with stakes. These are designed to be pushed or hammered into the sand. Drive the stakes down at an angle, away from the tent, for maximum holding power. Many experts suggest using all the provided stakes for the best security (Recreational Boating & Sailing Association).
The Power of Sandbags
Sandbags are your best friend on a windy beach. Fill the provided sandbags or use sturdy grocery bags filled with sand. Place these heavy bags on the floor of the tent, right on top of the stake points or anchoring loops. This adds significant weight and stability. We found that using sandbags is especially important if you can’t stake directly into the ground.
Guy Lines for Extra Support
If your tent has guy lines (ropes), use them! These attach to loops on the tent and are staked into the sand further out. They provide extra bracing against wind. Make sure they are taut but not so tight that they’re straining the tent fabric.
A Quick Checklist for a Sturdy Setup
- Unfold and identify all parts.
- Insert poles carefully into sleeves or attach clips.
- Bend and secure poles to the tent corners.
- Stake down all corners firmly at an angle.
- Fill sandbags and place them inside for extra weight.
- Attach and tension any guy lines.
Conclusion
You’ve now learned the essential steps to set up your beach tent quickly and securely. From picking the ideal spot considering the sun and tides to anchoring it firmly against the wind, you’re ready for a comfortable beach day. Remember, a well-placed and stable tent means more relaxation and less hassle. So, next time you head to the shore, follow these tips to create your perfect shaded oasis in minutes. Your stress-free beach adventure awaits!
Frequently Asked Questions
What’s the best way to secure a beach tent if the sand is very soft?
If the sand is soft, your stakes might not hold well. In this case, filling sandbags and placing them inside your tent is your best bet. You can also try using larger, flatter objects like driftwood if available to weigh down the corners.
How do I prevent my beach tent from getting too hot inside?
Position your tent to catch any natural breeze. Many tents have mesh panels or vents that you can open. Research suggests that leaving the front open towards the water can also help with airflow. Consider a lighter-colored tent, as darker colors absorb more heat.
My beach tent poles seem difficult to bend. Am I doing something wrong?
Sometimes poles can be stiff, especially when new. Try inserting them gently and steadily, working them into the grommets. If a pole feels very resistant, double-check that it’s correctly aligned with the sleeve and not catching on the fabric. Don’t force it aggressively, as this could damage the pole or tent.
Can I set up a beach tent on a rocky beach?
Setting up on rocks is trickier. You’ll likely need to use sandbags or heavy objects to secure the tent rather than stakes. Look for any stable crevices or flat areas where you can place weights. You might also consider a beach mat or blanket for comfort instead of a traditional tent if the terrain is too challenging.
How do I make sure my beach tent is facing the right direction for shade?
Observe the sun’s position when you arrive. Think about where the sun will be throughout the time you plan to stay. Face the opening of your tent away from the direct midday sun for maximum shade. You might need to adjust it slightly as the day progresses.
2 Comments