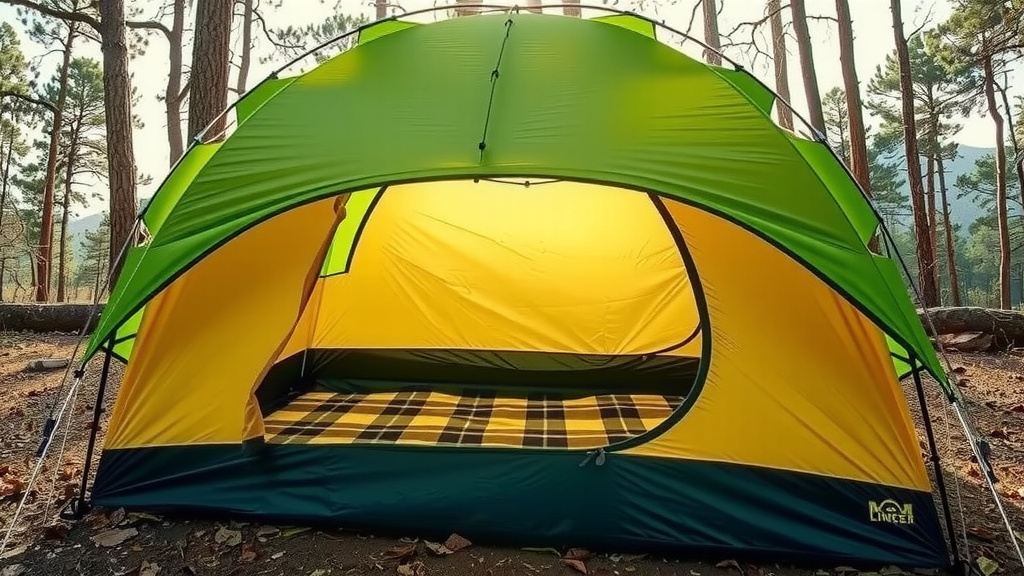
How to Set Up a Camping Tent: A Simple Guide
Setting up a camping tent is straightforward when you follow a few key steps. You’ll want to lay out the tent, insert the poles, and then secure it with stakes. This method ensures your shelter is stable and ready for your outdoor adventure.
Getting your tent up correctly is essential for a comfortable camping trip. Understanding the different parts of your tent and how they fit together makes the process much easier. Many campers find that a little preparation goes a long way in avoiding frustration at the campsite.
- Unpack and identify all tent parts.
- Choose a flat, clear spot for your tent.
- Assemble the poles and thread them through the tent sleeves.
- Raise the tent and secure it with stakes.
- Attach the rainfly if needed.
Ready to get your campsite set up? Let’s walk through exactly how to set up your camping tent, step by step.
Getting Your Tent Set Up: A Step-by-Step Guide
So, you’re ready for an adventure, and your tent is packed! Great! Now, let’s make sure you can get it up without a hitch. Setting up a tent properly is the first step to a comfortable and dry night under the stars. We’ve broken down the process into easy-to-follow steps.
Choosing the Perfect Campsite Spot
Where you pitch your tent matters. You want a spot that’s level and clear. Look for flat ground. Avoid areas with rocks, roots, or dips. A level spot means a more comfortable sleep. Clear debris so nothing pokes you all night.
Also, consider drainage. If it rains, you don’t want your tent to become a small lake. Avoid low-lying areas. Think about where the sun will be. Morning sun can be nice for warming up, but intense afternoon sun can make your tent an oven. Many guidelines suggest checking the area for potential hazards like dead branches overhead (National Park Service).
Understanding Your Tent’s Components
Before you even start, it helps to know what you’re working with. Most tents have a few key parts:
- Tent Body: This is the main part, usually made of fabric, where you’ll sleep.
- Poles: These give your tent its structure. They are often shock-corded for easy assembly.
- Stakes: These anchor your tent to the ground.
- Rainfly: This is the waterproof outer layer that protects you from rain and wind.
- Guy Lines: These are extra ropes to secure the rainfly and add stability.
Familiarizing yourself with these pieces will save you time and confusion. It’s like having a blueprint for your temporary home!
Assembling the Tent Poles
Tent poles typically come in sections. They are usually connected by an elastic cord. Gently pull the sections apart and let the cord guide them into place. They should snap together easily. Be careful not to let the elastic snap them too forcefully.
Most modern tents use flexible poles made of fiberglass or aluminum. These poles are designed to bend without breaking. Some larger tents might have a hub system, where multiple poles connect at a central point. Check your tent’s specific instructions if you have a unique design.
Pitching the Tent: Getting the Structure Up
Now for the exciting part – seeing your tent take shape!
Threading the Poles
Your tent body will have sleeves or clips. Sleeves are fabric channels where you slide the poles through. Clips are usually fabric loops that attach to the poles once they are in place. Some tents use a combination of both.
If your tent has sleeves, start at one end and carefully slide the pole through the designated sleeve. It might feel a little snug. Don’t force it. If you hit a snag, check if the pole is bent or if there’s a kink in the sleeve. Work slowly and patiently.
Raising the Tent Frame
Once the poles are threaded, you’ll often need to insert the ends of the poles into grommets or pockets located at the corners of the tent body. Gently bend the poles to create the tent’s dome shape. You’ll likely need to do this for all the main poles.
Many tent manufacturers recommend inserting the pole ends into the corner grommets first. Then, carefully bend the pole and secure it. This method helps create tension evenly. Some tents have color-coded poles and sleeves to make matching them up even easier.
Securing Your Tent with Stakes and Guy Lines
This is where your tent goes from “standing up” to “staying put.” Stakes are essential for stability, especially in windy conditions. You’ll find them in a bag, usually with the poles or rainfly.
Driving the Stakes
Start by staking down the corners of your tent. Pull the tent fabric taut and drive the stakes into the ground at an angle. An angle of about 45 degrees pointing away from the tent is generally recommended. This angle provides the best holding power.
Use a rock or a mallet if the ground is hard. Be careful not to hit your hand! If the ground is very soft or sandy, you might need longer or specialized stakes. Experts suggest using rocks to help weigh down the base if stakes won’t hold (U.S. Forest Service).
Using Guy Lines for Extra Support
Guy lines are critical for wind and rain. They attach to loops on the rainfly or tent body and anchor to the ground with additional stakes. These lines create a larger footprint for your tent, giving it much more stability against the elements.
Extend the guy lines out from the tent and secure them with stakes. Adjust the tension using the small sliders or knots on the lines. Proper tension is key – too loose and they won’t help; too tight and you could damage your tent or stakes.
Attaching the Rainfly
The rainfly is your tent’s waterproof shield. It usually drapes over the tent poles and attaches with buckles, Velcro straps, or clips. Make sure you orient it correctly – there’s usually a door or window on the rainfly that should align with your tent’s door.
Pull the rainfly taut and secure all its attachment points. The rainfly should not be touching the tent body. This air gap is what allows for ventilation and prevents condensation buildup inside your tent. Proper ventilation is key to a dry and comfortable camping experience.
Final Checks and Adjustments
Do a quick walk-around. Are all the stakes in securely? Are the guy lines taut? Is the rainfly attached properly and not sagging? You want your tent to be as snug as a bug in a rug.
It’s also a good idea to check inside. Make sure there are no stray rocks or sharp objects that might have been missed during site selection. Open and close the zippers a few times to ensure they work smoothly. This final once-over ensures your tent is ready for whatever nature throws at you.
Quick Tent Setup Checklist
Here’s a handy checklist to keep with you:
- Find a flat, clear campsite spot.
- Assemble tent poles and thread them through sleeves.
- Insert pole ends into corner grommets.
- Raise the tent structure.
- Stake down the tent corners firmly.
- Attach and tension the rainfly.
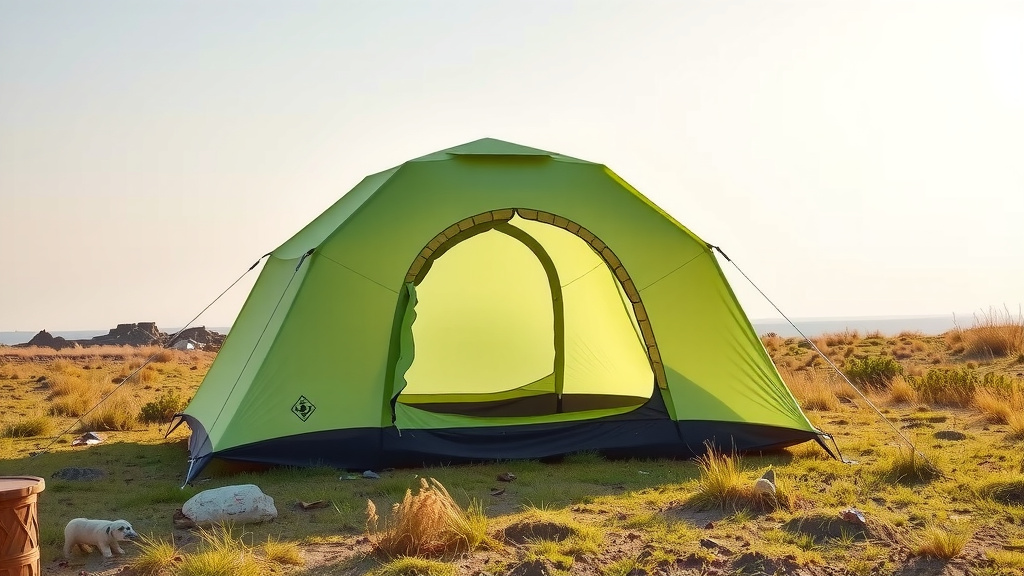
Conclusion
You’ve now got the knowledge to set up your camping tent like a pro! We’ve walked through choosing the best spot, understanding your tent’s parts, and the essential steps of assembling poles, pitching the body, and securing everything with stakes and guy lines. Don’t forget to properly attach that rainfly for a dry night. With these skills, you’re ready for comfortable nights under the open sky. Your next adventure awaits — go pitch that tent!
Frequently Asked Questions
What if the ground is really hard and I can’t get stakes in?
If you encounter hard ground, try using a rock or a mallet to gently tap the stakes in. If it’s still too difficult, research suggests you can sometimes place heavy rocks on the base of the tent to help hold it down. This offers extra weight for stability.
How do I make sure my tent stays dry if it rains?
Ensure your rainfly is attached correctly and pulled taut. The gap between the rainfly and the tent body is important for ventilation and preventing condensation. Double-check that all seams are properly sealed, as most good tents have factory-sealed seams.
Can I set up a tent by myself?
Yes, absolutely! While it’s easier with two people, you can definitely set up a tent on your own. Focus on laying out the tent body flat, inserting poles carefully, and staking one corner before working your way around. Patience is key.
My tent poles are stiff. Is this normal?
It’s normal for new tent poles to be a bit stiff, especially when connecting sections. Gently guide them together rather than forcing them. If they feel excessively resistant, check that the sections are aligned correctly before attempting to connect them.
How do I prevent condensation inside my tent?
Proper ventilation is your best friend against condensation. Make sure the rainfly isn’t touching the tent body, and utilize any mesh windows or vents your tent provides. Opening tent doors slightly, if weather permits, can also improve airflow.

![7 Best Budget Rooftop Tent [2026]](https://leonardhomeoutdoor.com/wp-content/uploads/2026/08/7-best-budget-rooftop-tent-2026-featured-768x432.jpg)
![7 Best Backpacking Tent For Elk Hunting [2026]](https://leonardhomeoutdoor.com/wp-content/uploads/2026/06/7-best-backpacking-tent-for-elk-hunting-2026-featured-768x432.jpg)