How to Set Up a Tent With Poles: A Simple Guide
Setting up a tent with poles is a straightforward process that anyone can master with a little practice. The key is to identify your tent’s components and follow the color-coded or labeled instructions, usually found on the tent bag or a small tag sewn inside. Most tents involve inserting poles into sleeves or clipping them onto the tent body, then securing the rainfly. It’s usually much easier than people imagine!
We found that understanding the basic anatomy of a tent makes setup a breeze. Your tent likely has a main body, a rainfly for weather protection, and poles that give it structure. Many campers also use stakes to secure the tent to the ground. Knowing these parts helps you visualize the assembly before you even start. It’s all about connecting the right pieces.
- Unpack and lay out all tent components.
- Identify the tent poles and the corresponding sleeves or clips.
- Insert poles into sleeves or attach them to clips, creating the tent’s frame.
- Drape the tent over the frame and secure it.
- Attach the rainfly for weather protection.
Ready to conquer that tent? Let’s walk through exactly how to set it up, step by step, so you can get to enjoying your outdoor adventure!
Setting Up Your Tent with Poles: A Simple Guide
Getting your tent set up with poles doesn’t have to be a wrestling match. We found that with a few simple steps, you can have your shelter ready in no time. The most important thing is to lay everything out first. This helps you see all the pieces and how they fit together. It’s like putting together a puzzle, but way more rewarding when you’re done!
Understanding Your Tent’s Anatomy
Before you start, take a moment to identify the main parts of your tent. This makes the process much smoother. Most tents have a main body, poles, stakes, and a rainfly. Knowing what each part does helps you assemble it correctly.
The Tent Body: Your Living Space
This is the main fabric part of your tent. It’s where you’ll sleep and store your gear. Look for the doors and windows. These are usually clearly marked. You’ll also see grommets, loops, or sleeves where the poles will connect.
The Poles: The Skeleton of Your Tent
Tent poles are usually made of lightweight aluminum or fiberglass. They come in sections that connect together. You’ll often find that poles are color-coded to match corresponding sleeves or clips on the tent body. This is a huge help!
The Rainfly: Your Weather Shield
This is the outer waterproof layer. It drapes over your tent to protect you from rain and dew. The rainfly usually has buckles or clips that attach to the tent body or poles. It’s crucial for staying dry and comfortable.
Stakes: Anchoring Your Home
Stakes are metal or plastic pegs. You use them to secure your tent to the ground. This prevents it from blowing away in the wind. Make sure you have enough stakes for all the guy lines and tie-down points.
Preparing Your Campsite and Tent
Choosing the right spot is key to a good camping trip. You want a level area away from hazards. Then, you’ll want to prepare the ground and your tent for assembly.
Choosing the Perfect Spot
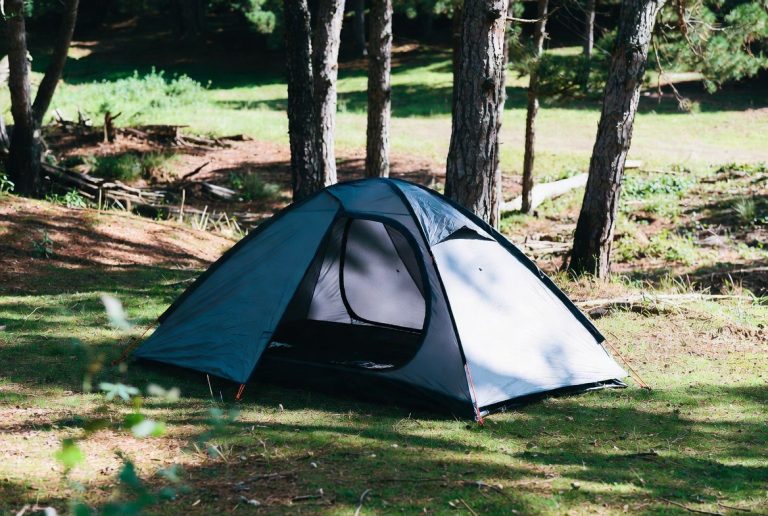
Look for a flat, clear area. Avoid setting up under dead trees or branches. These can fall and damage your tent. Also, try to find a spot that offers some shade. This can make a big difference on a hot day. Consider the wind direction too. You might want to position the tent door away from prevailing winds.
Clearing the Ground
Remove any sharp rocks, sticks, or debris from your chosen spot. You don’t want anything poking holes in your tent floor. If you have a footprint or ground tarp, now is the time to lay it down. This adds an extra layer of protection and insulation.
Unpacking and Identifying Components
Take everything out of the tent bag. Lay out all the pieces so you can see them. Find the poles, stakes, rainfly, and tent body. Check for any damage. Make sure all the parts are there before you start assembly. This is your chance to be organized!
Assembling the Tent Frame
This is where your tent starts to take shape. The poles create the structure, holding everything up. Following the color-coding or labels will make this part simple.
Connecting the Poles
Most tent poles are shock-corded. This means they’re connected by an elastic cord inside. Simply align the sections and let them snap together. You’ll feel them click into place. Be careful not to force them. If a section seems stuck, try wiggling it gently.
Inserting Poles into Sleeves or Attaching to Clips
Different tents use different systems. Some have fabric sleeves that the poles slide through. Others have clips that attach to the poles. Many modern tents use a combination of both.
If your tent has sleeves, gently feed the poles through them. Try to push the pole from one end to the other. Don’t try to pull it through from the middle. It’s like threading a needle, but on a much larger scale.
If your tent has clips, lay the poles across the tent body where they are supposed to go. Then, snap the clips onto the poles. You’ll usually find clips at regular intervals along the tent seams.
Securing the Poles to the Tent Body
Once the poles are through the sleeves or attached to the clips, you’ll need to secure them. Look for grommets at the corners or ends of the tent body. These are reinforced holes. Insert the end of the pole into the corresponding grommet. This anchors the frame.
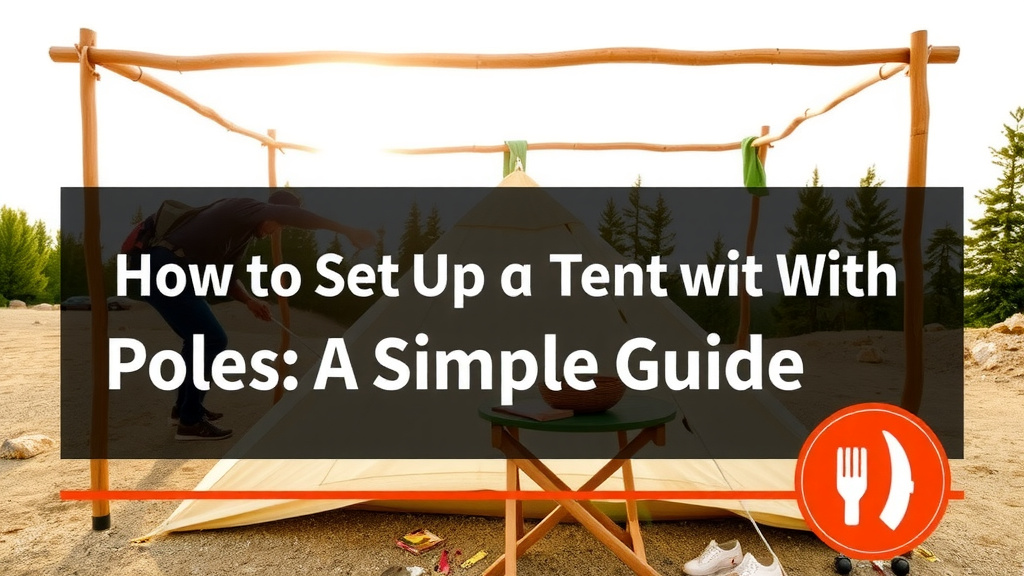
Draping and Securing the Tent Body
With the frame in place, it’s time to put the tent fabric over it. This is where you start to see your shelter emerge.
Positioning the Tent Body
Carefully drape the tent body over the erected poles. Ensure the door is facing the direction you want. Align the corners of the tent with the poles. You might need a friend to help you here. It makes the process much easier.
Attaching the Tent to the Frame
Use the loops, Velcro straps, or toggles on the tent body to attach it to the poles. This keeps the fabric taut and in the correct position. Make sure everything is snug but not overly strained.
Staking Down the Tent
Now it’s time to anchor your tent to the ground. Use the stakes to secure the tent’s corners and base. Drive the stakes into the ground at a 45-degree angle, pointing away from the tent. This gives them the best holding power. You can use a rock or a mallet to hammer them in. Ensure all guy lines are also staked out properly. These lines add stability and tension to the tent.
Attaching the Rainfly
The rainfly is your protection from the elements. Attaching it correctly is vital for staying dry and comfortable.
Orienting the Rainfly
Find the door on the rainfly. It should align with the door of your tent body. Most rainflies have a specific way they need to be oriented. Some have tie-outs or logos that indicate the front or back.
Draping and Securing the Rainfly
Drape the rainfly over the tent frame. Make sure it covers the entire tent body. Fasten the rainfly to the tent poles or the tent body using the buckles, clips, or Velcro straps. These connections keep the rainfly secure and create a crucial air gap between the fly and the tent body. This gap helps with ventilation and prevents condensation buildup.
Tensioning the Rainfly
Once the rainfly is attached, you’ll want to ensure it’s properly tensioned. Adjust the guy lines and any tensioning straps on the rainfly. A taut rainfly sheds water effectively. It also prevents flapping in the wind. You should see a clear space between the rainfly and the tent body. This airflow is important for ventilation.
You’ve done it! Your tent is ready for adventure. A little preparation and a step-by-step approach make setting up your tent with poles a simple and satisfying task. Now, go enjoy the outdoors!
Tent Setup Checklist:
- Lay out all tent components.
- Identify poles and their corresponding sleeves/clips.
- Connect poles and insert them into sleeves or attach to clips.
- Drape tent body over the frame and secure it.
- Attach and tension the rainfly.
- Stake down the tent and guy lines firmly.
Conclusion
You’ve successfully navigated the steps to set up your tent with poles! We found that a bit of preparation and attention to detail makes all the difference. Remember to lay out your components, connect those poles carefully, and secure everything from the tent body to the rainfly. Staking your tent properly is your final, important step for stability. Now that your shelter is ready, you can relax and fully enjoy your outdoor escape. Your next adventure awaits!
Frequently Asked Questions
What if I can’t find the color-coding on my tent poles?
If the color-coding is missing or unclear, rely on the shape and length of the poles. Most tents have a diagram showing where each pole goes. Your tent bag or manual should have this information. You can also try inserting poles into sleeves to see which ones fit best.
Can I set up my tent by myself?
Yes, you absolutely can set up most tents by yourself! While having a friend makes it easier, it’s perfectly doable solo. Drape the tent body over the frame first, and then secure the corners. The rainfly can also be managed alone with a bit of patience.
How tight should the tent fabric be?
You want the tent fabric to be taut, but not strained. It should be snug enough to hold its shape and shed water effectively. If the fabric looks like it’s being pulled too hard, loosen the stakes or guy lines slightly. A little bit of slack is okay, but avoid excessive looseness.
What’s the best way to store my tent after use?
Always make sure your tent is completely dry before storing it. Roll it up loosely, not tightly packed, to avoid stressing the fabric and seams. Store it in a cool, dry place, ideally in a mesh bag if you have one, to allow for airflow.
My tent has clips instead of sleeves for poles. How does that work?
If your tent uses clips, you’ll first assemble the poles to create the frame, then lay them across the tent body. Next, you’ll attach the clips that are already sewn onto the tent fabric onto the poles. This method is often quicker than threading poles through sleeves.